

The BEST wedding planning book on the market, isn’t a book at all! Here’s all you need to know about planning your wedding like a pro and staying organized during the entire journey!
So, what does it take to be super organized during the wedding planning process?
Before you run to the nearest bookstore to buy one of the many gorgeous “Wedding Planners” on the market, consider this: most professional wedding planners use simple 2”-3” binders to stay on track for each and every wedding they plan. The primary reason for this is that a binder can be customized to suit every wedding while keeping everything you need at your fingertips. Sometimes thicker binders or multiple binders are required, but binders do the trick every single time.
Almost every wedding planning book consists of heavy cardboard cover and rings that often fail when loaded down with lots of paper. It’s so much easier to create your own. And most people find that they don’t actually need or use the majority of the pages they come with.
Here’s everything you need to know to create your very own wedding planning book.
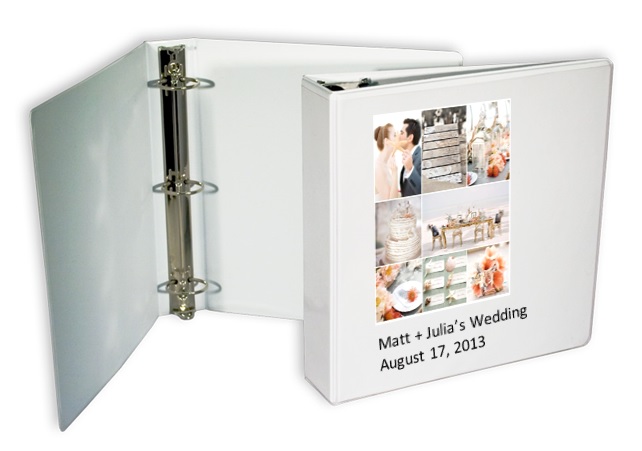
I personally like white binders with protective plastic covers and spines so I can add my own graphics specific to my clients’ vision. You can make this as fancy or simple as you like. You can opt for a binder with a zipper but most of what you need can be contained easily within a simple white binder.
Now there are some additional items that you will need to make this as effective as possible. They include:
- A zippered pouch to hold pens, a small notebook, highlighters, paperclips and any other office supply you may require
- Plastic sheet protectors (to hold contracts, inspirational pages from magazines, brochures, receipts, etc). Try to find the ones that close so you don’t lose anything.
- Binder tabs (I personally like the 10 tab system)
- Business card sleeve (to hold all of your business cards for possible venues, vendors – make sure you edit this once you have made your final selections)
- Coloured sticky tabs (to further subdivide categories – in particular your vendor and venue categories)

In addition Accordion file for 3-dimensional inspiration pieces like fabric, paper, buttons, stickers (whatever it is that grabs your attention)
From there, I divide my binder as follows:
Business Card Sleeve
Hard copy of a calendar you can write on

Tabbed Sections Including:
- Contacts (the most often used section)\
- Activity Log (where I simply record by hand every piece of communication that has taken place during the wedding planning process)
- Budget (most recent updated budget to keep you on track as you plan)
- Master Timeline: Checklist, Timeline(s),
- Venues: Contracts, Menus, Communication, Invoices, Receipts, etc
- Vendors: Contracts, Invoices, Receipts, Communication, etc.
- Design Details: Photos in plastic sleeves, Paint chips,
- Copy of the Guest List: includes RSVP’s, food choices, gifts, etc
- Additional Category as you prefer (Rehearsal Dinner, etc)
- Additional Category as you prefer
When it comes to your vendor section, use your sticky tabs. Break these down further with your tabs to identify the individual vendors such as bakery, DJ, rental companies, florist, photographer, videographer and so on.
Hopefully this will help you get organized. Stay on top of this and file, file, file.
There is nothing worse than looking for something you can’t easily find – and nothing better than being able to put your hands on something you do need, in a matter of seconds!
Here’s to happy planning!
~ Lori